This manual is designed for people who are going to use the Coefficient collaboration platform (as opposed to people who are going to install or modify the platform). It assumes that Coefficient is up and running at the following URL:
          Under JBoss:   http://localhost:8080/index.html
          Under Tomcat:  http://localhost:8080/coefficient/index.html
The first time that Coefficient is accessed on a new site, the following configuration screen is presented:

This will provide some basic configuration options. It is critical that you enter a mail/smtp host and a return email address for the various messages that Coefficient will generate.
This configuration is only done once and subsequent access to Coefficient will skip this screen.
After initial configuration, the first screen you should see when you access Coefficient is:

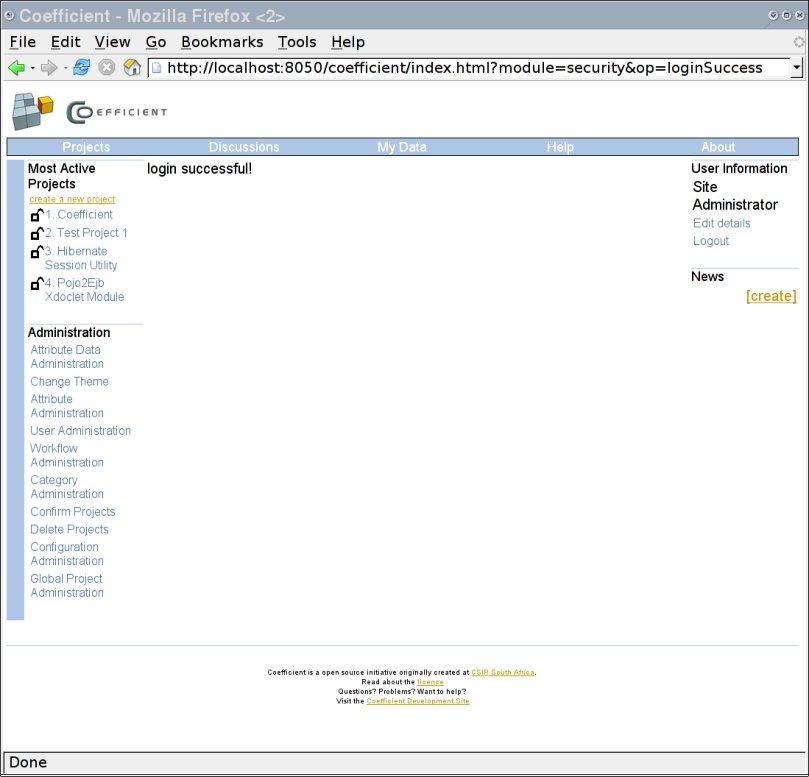
This screen will allow you to either log in or create a new user account. Coefficient comes prepopulated with one user. That is user admin with password admin. Click on the login button and login with the username/password combination of admin and admin.
The following screen should appear:

Take some time now to edit the site administrator's information including changing the password.
Attributes are descriptive fields associated with projects. These descriptive fields could hold information like the programming language and the intended audience.
Coefficient comes prepopulated with a field different attributes. The various attribute fields can be viewed by clicking on Attributes. The following screen should appear:

This screen informs us that there are already attributes created to assist in classifying projects with respect to the human language, the programming language, the audience type, the license, and the status.
Note: Only attributes that are not referenced by any existing projects are eligable to be deleted.
Attribute Data are specific values given to the attribute fields discussed in the previous section. If you click on Attribute Data and experiment a bit, you will find the following screen describing the current attribute data used with human languages:

Categories are also ways to classify projects but in a hierarchical manner. Currently, there is no prepopulated data in categories and the site administrator must add categories manually. For example, a site which caters primarily for development of educational content may have the following categories:

Users can create their own account. This is done by clicking on the "Create a new account" button. (You must be logged out in order to do this.) The following screen will ask for all the required information:

To ensure that only real people create accounts, a confirmation notice will be sent to the email address provided. The user must read the email and follow the instructions in order to create a new account.
Note: It is critical that the mail stmp server indicated in the first configuration screen is correct and operational.
Projects can be created by any user. This is done by clicking on the "create a new project" link found under the "Most Active Projects" block or by following the "Projects" button in the top navigation and then clicking on "create a new project".
If you have uploaded a workflow file into the system the first screen presented will ask you to choose between creating a "workflow" project or creating a "custom" project.

For this brief disucssion, select "custom".
You will then be presented with the following screen:

All projects must be confirmed by the site administrator before they can be accessed by normal users.

Once added you will see the new project will show up in the most active project list in the west side of the screen. You may also click on the "My Data" link in the top navigation. This page is the default page a user is directed to if logged in and it displays all the projects that a user is a member of and any issues that are associated with the user:

Coefficient maintains the concept of a user role. User roles include:
Different modules have different access permissions which are usually defined by the role of the user. For example, a project champion can add members to a project but a normal project member can not add other members to the project.
If some options seem to disappear and appear, it is because of the user name by which you are logged in or not logged in.
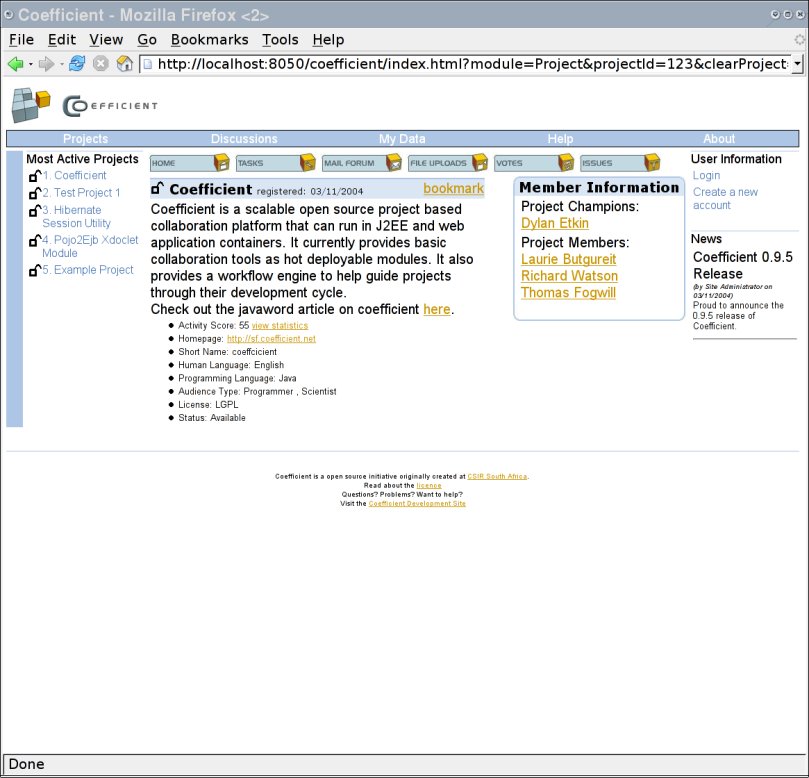
For example, if you do not login (then you are a guest) and access the project which you have just created, the screen would look like:

If you then login in as the user who created the project and access the project, the screen would look like:

Notice that the guest account is not authorised for certain facilities. In addition, the project champion is given many more links to edit the project details.